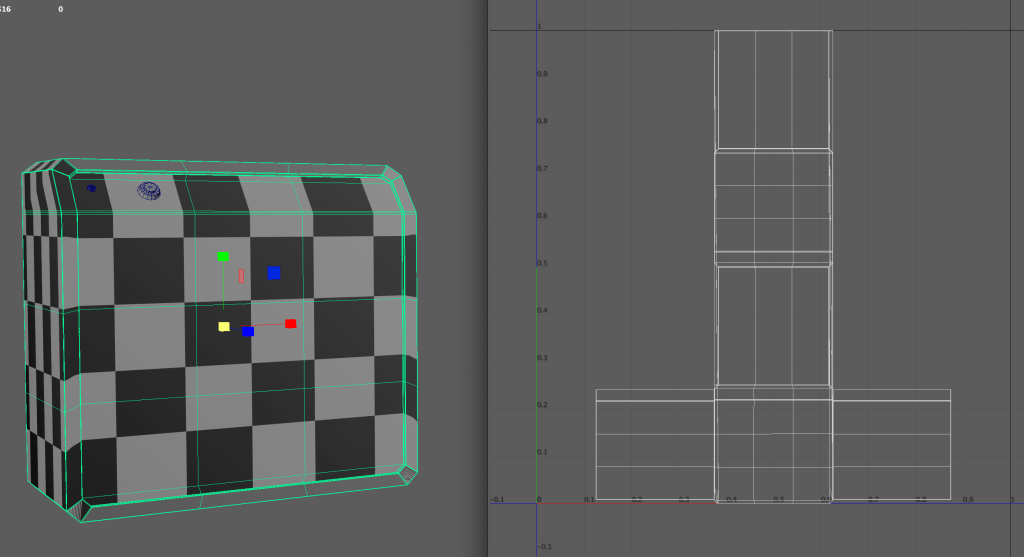
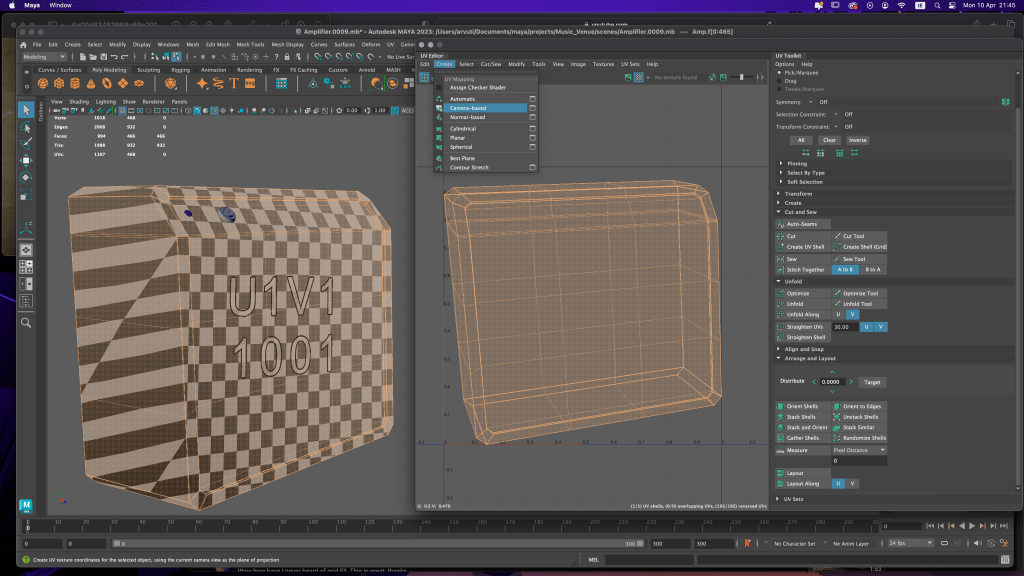
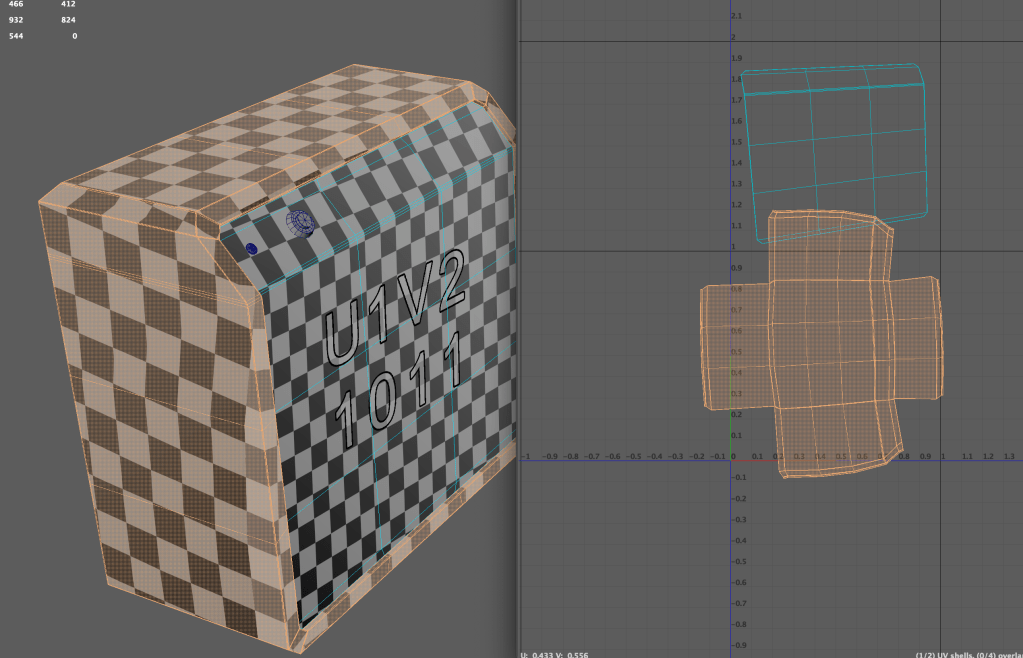
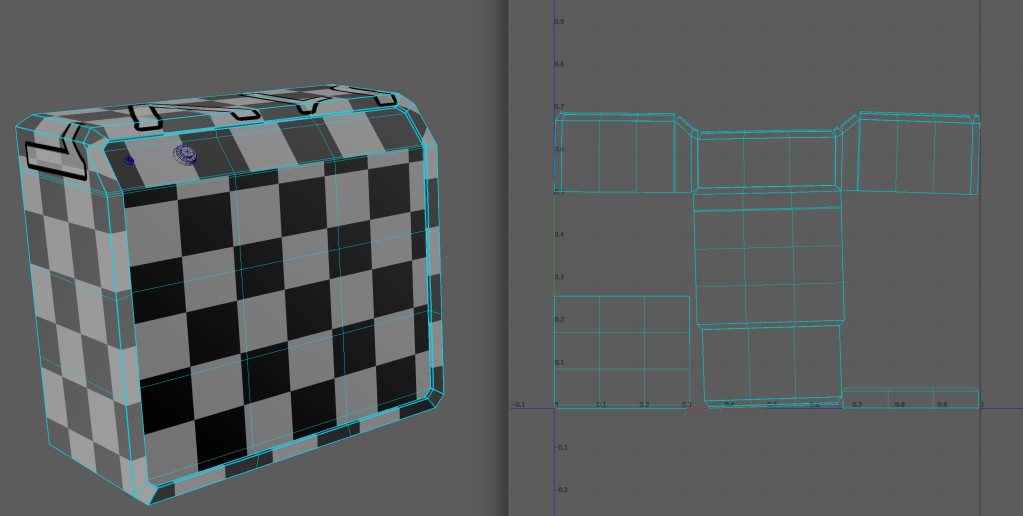
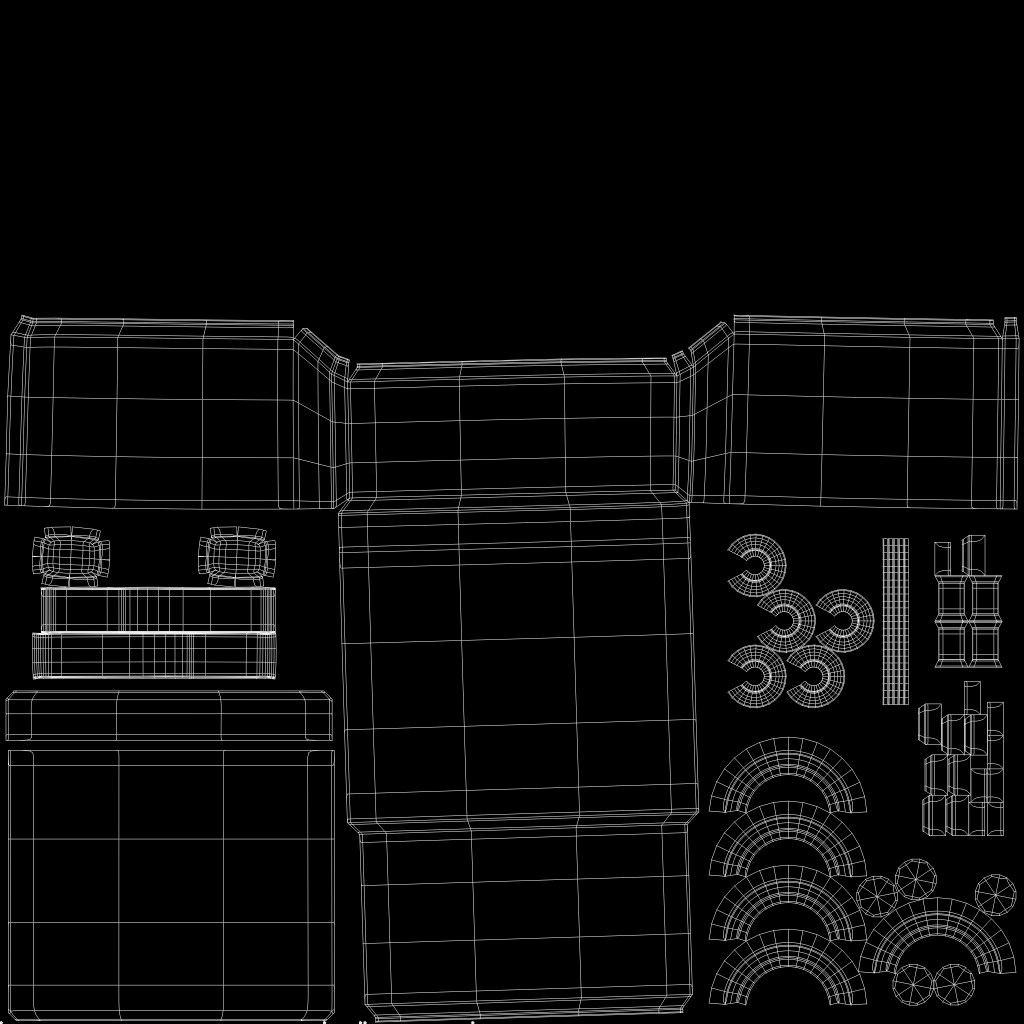
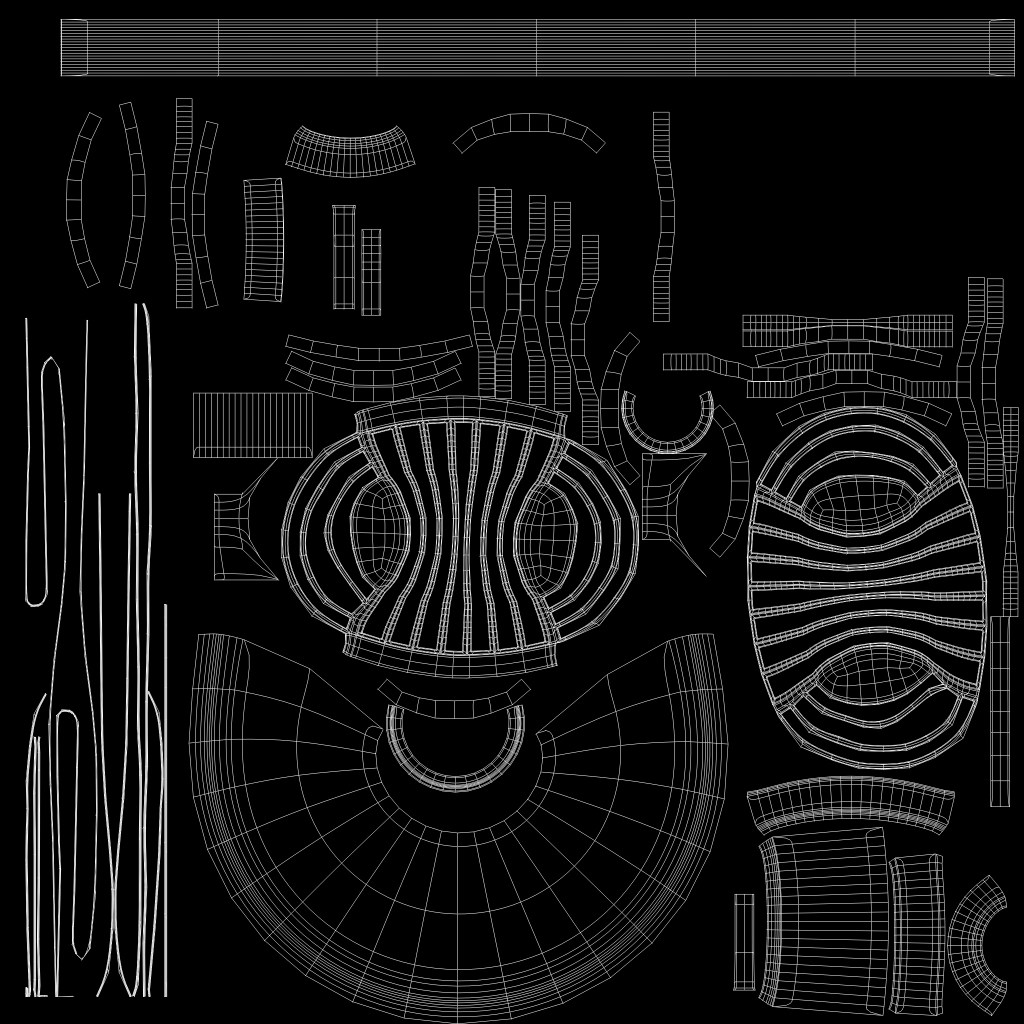
All the texturing is done by using Substance Painter. First I UV-mapped all the assets. The building’s UV map is and automatic UV map which I realigned a little. The other assets I first created a Camera View UV map and then using the cut and sow tool marked the seam edges, cut it, and unfolded the map. I then oriented and aligned the UV map.
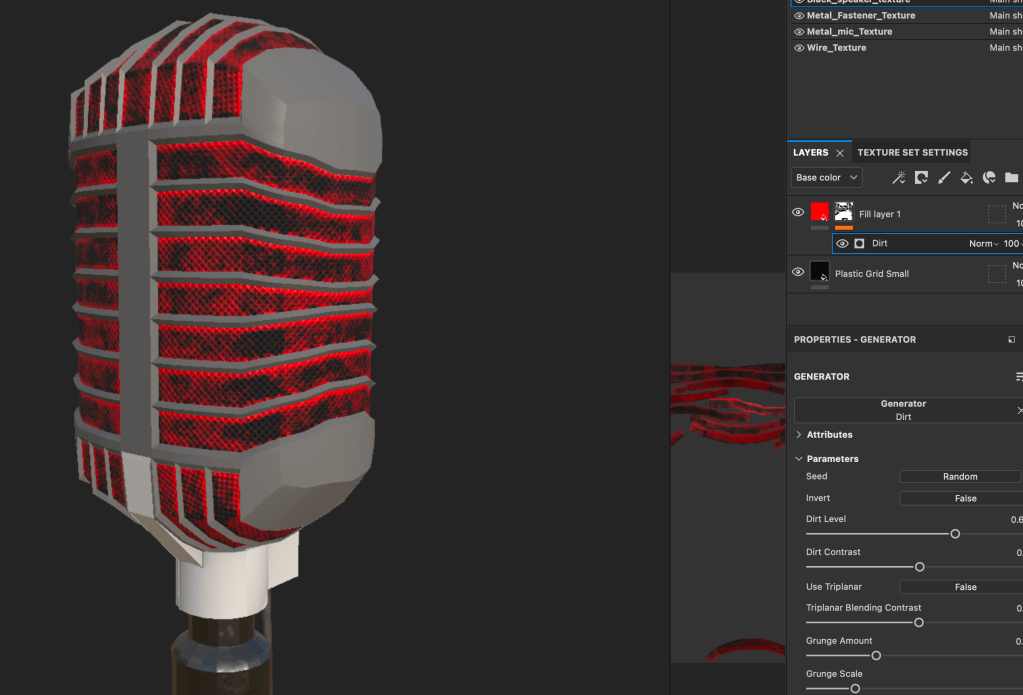
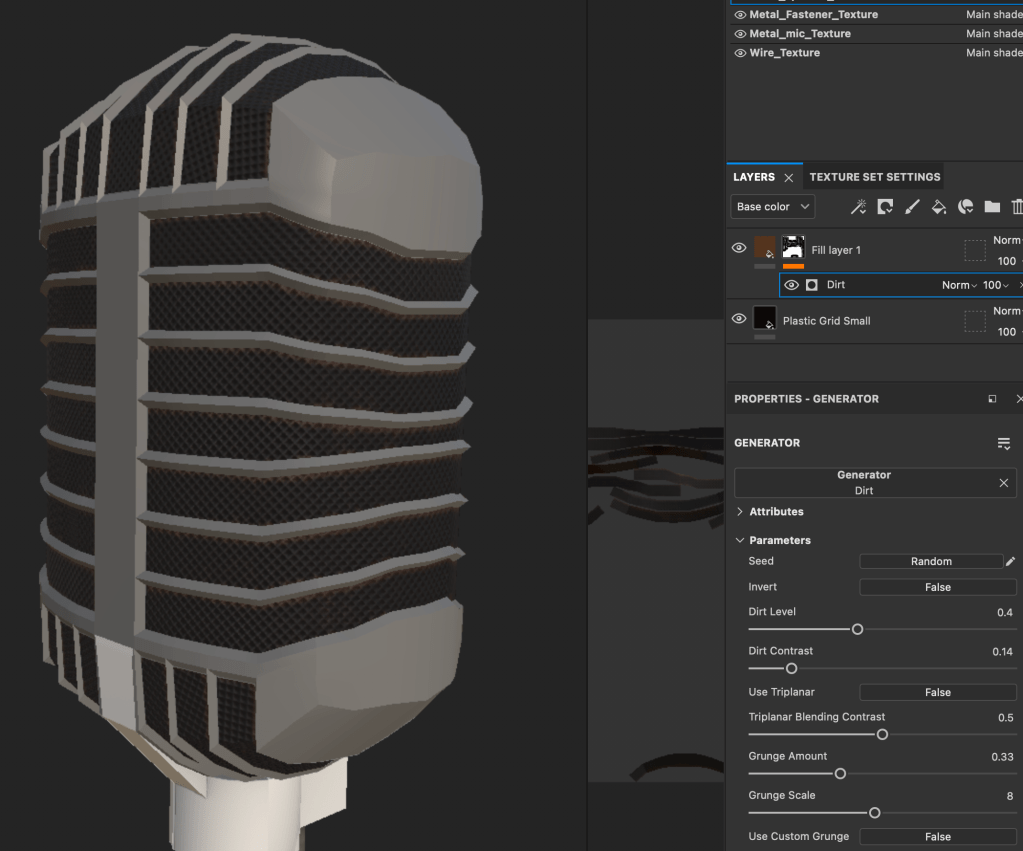
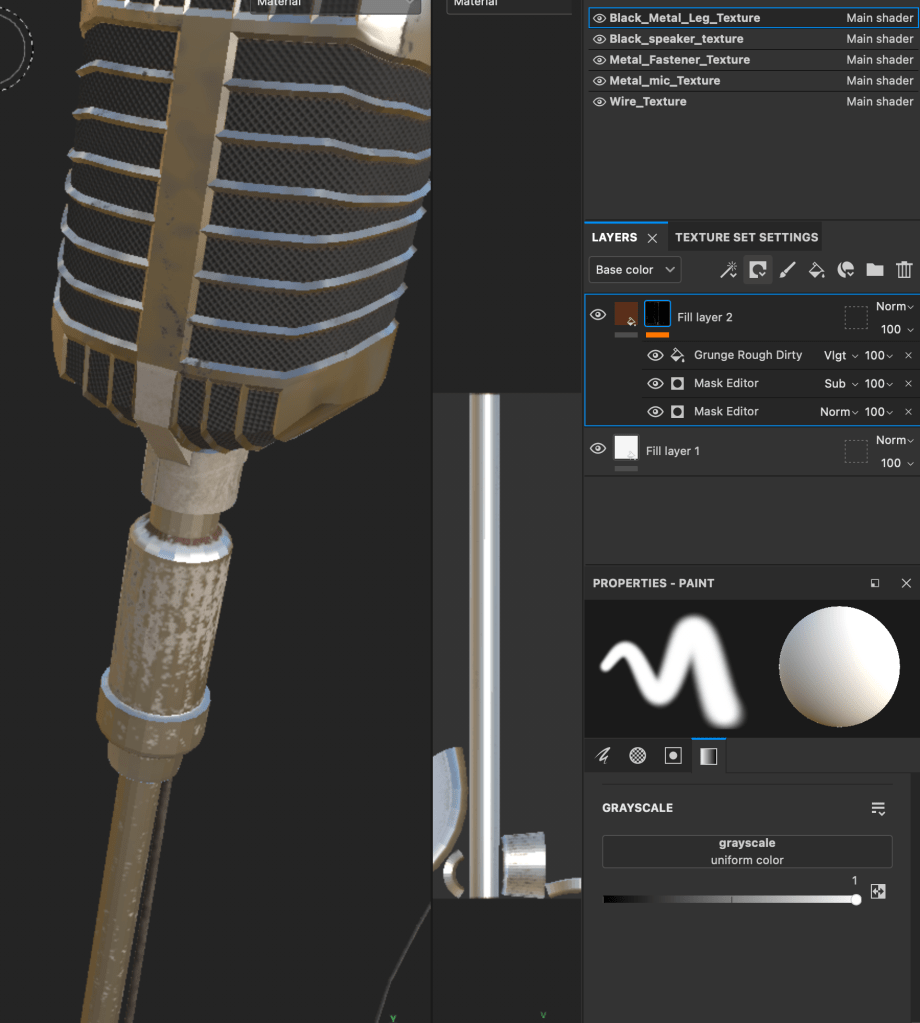
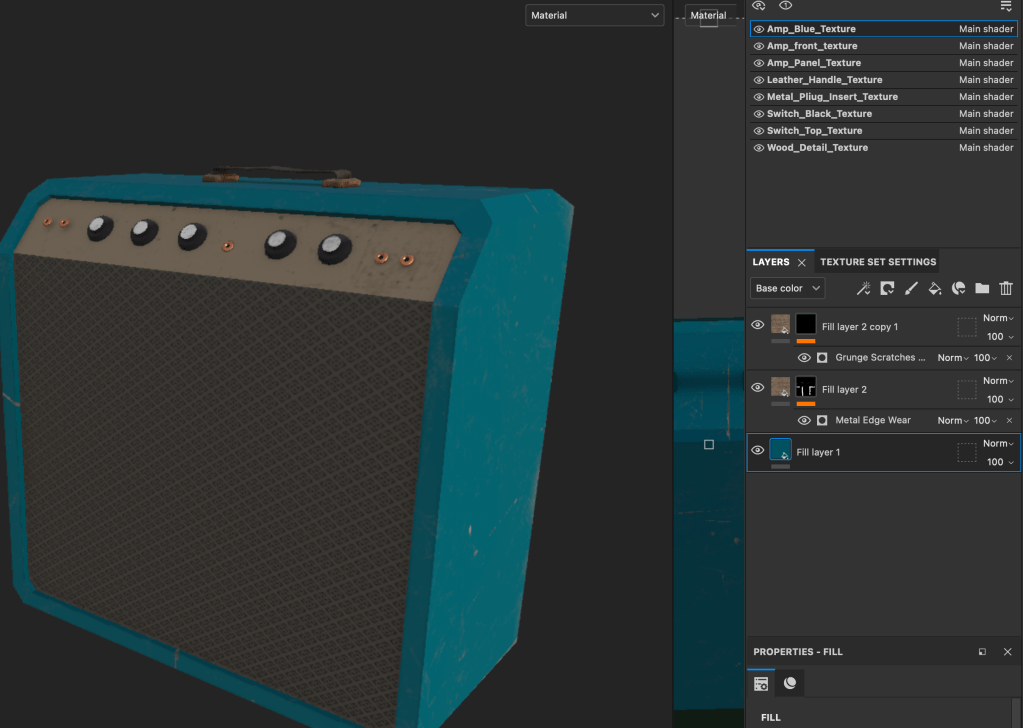
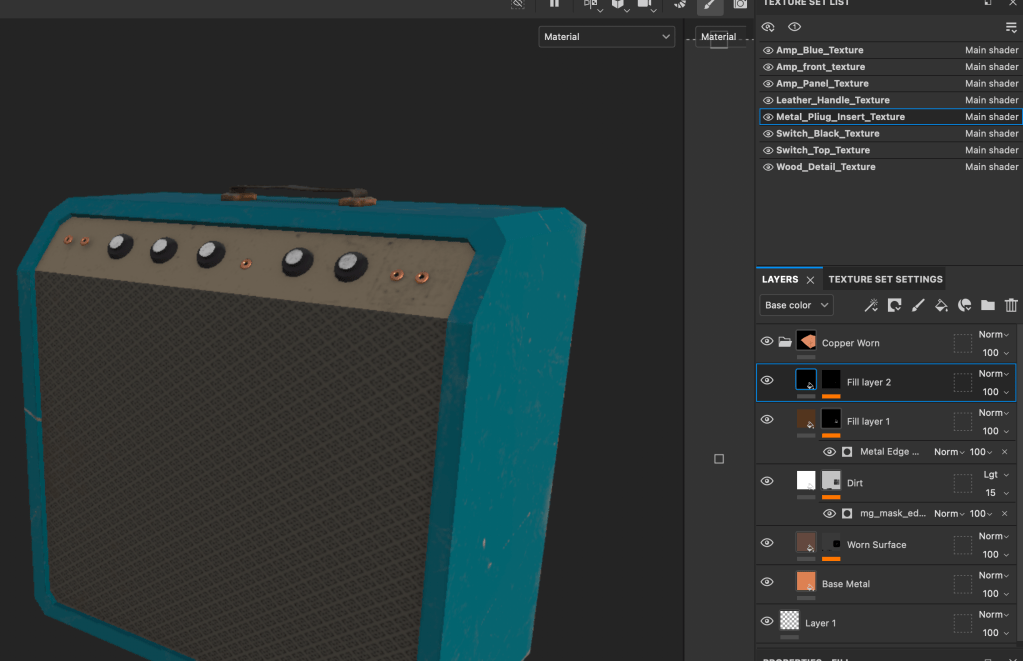
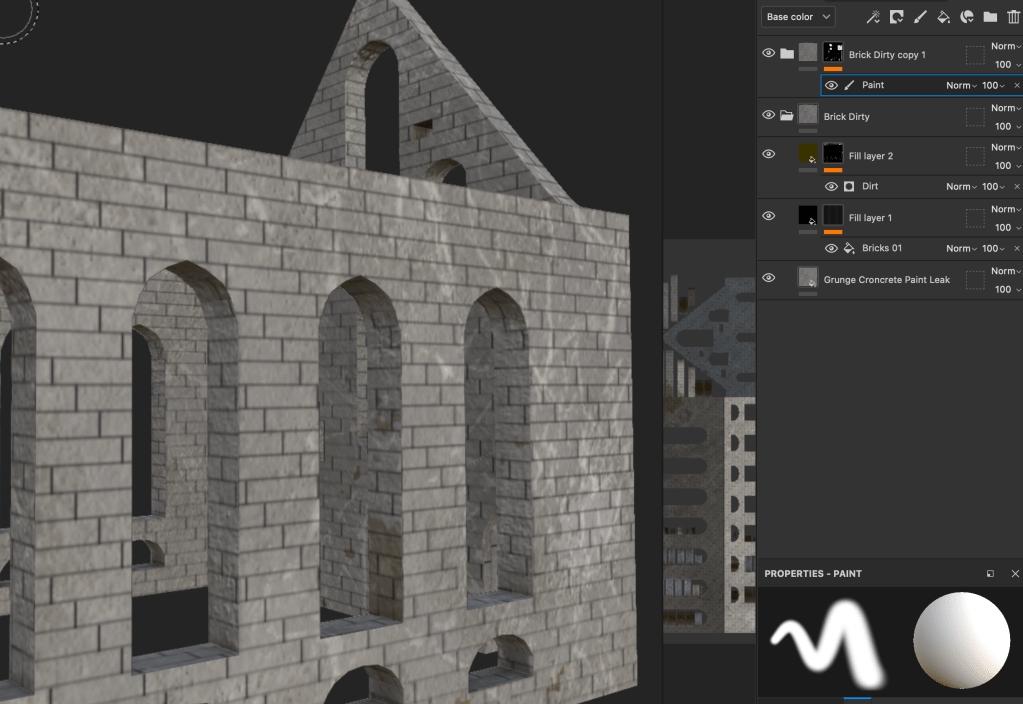
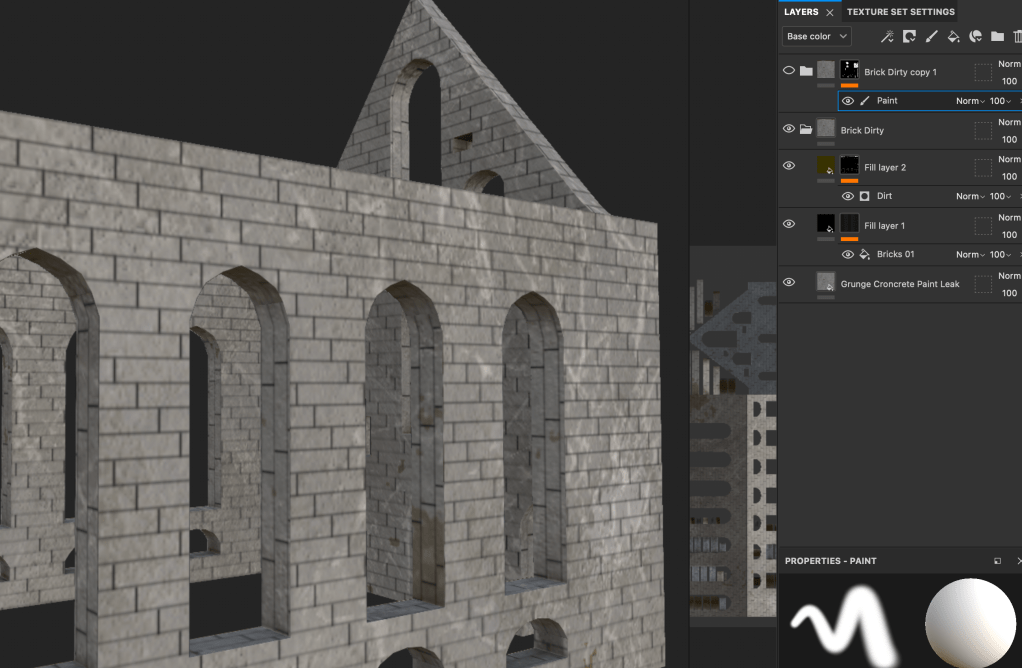
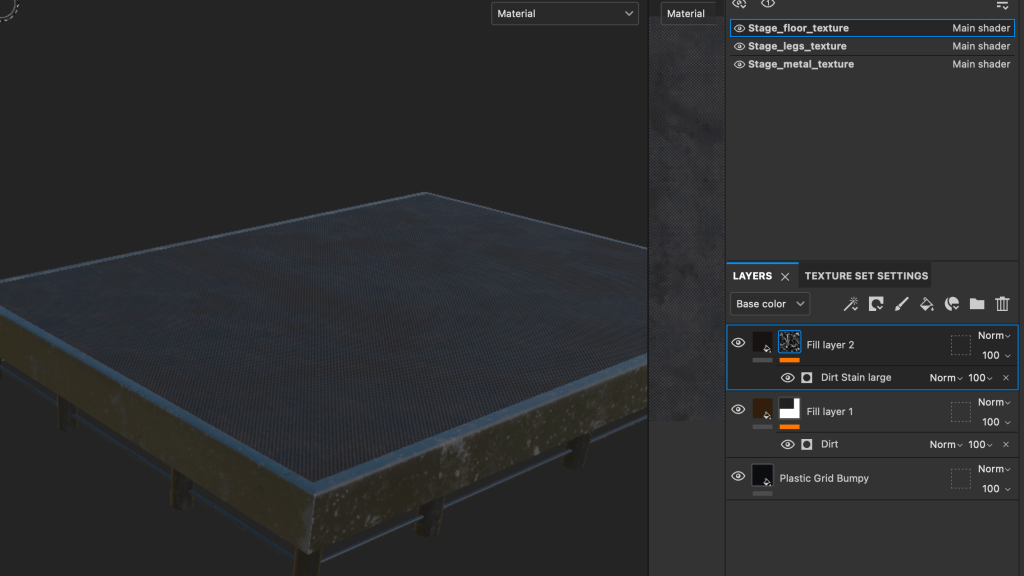
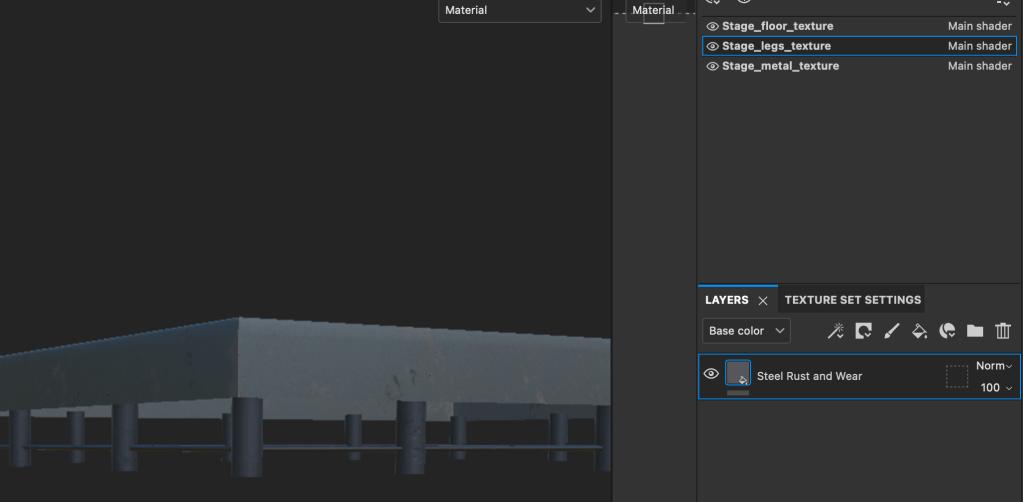
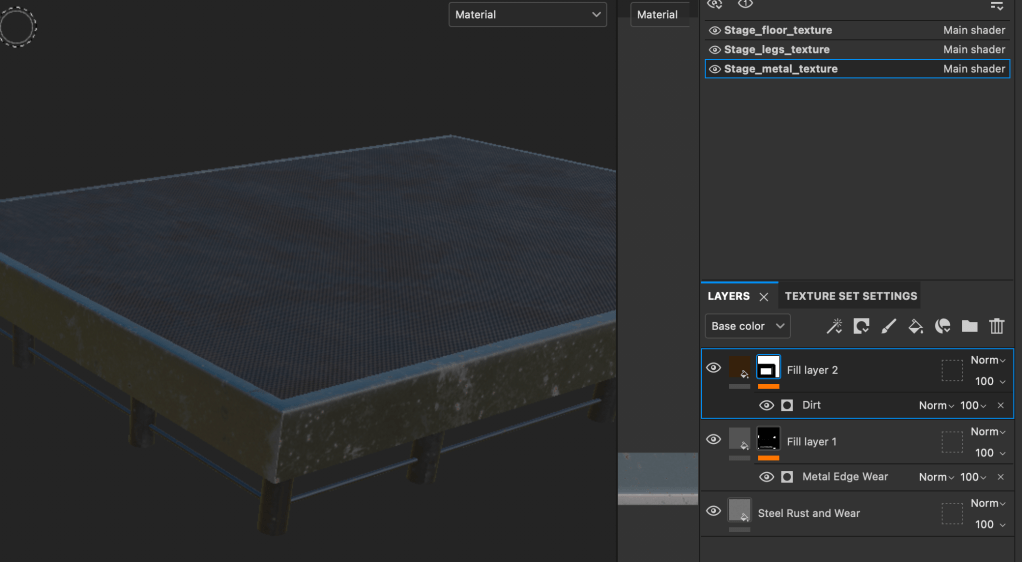
I assigned each part an aiStandardSurface material and then exported the meshes from maya as .fbx files to Substance Painter. For each asset I first baked the mesh. Some of the materials are Substance’s original Smart Materials that I adjusted to my liking and some are created from scratch by myself. I used fill layers and black masks with generators. Because I wanted the worn-out retro look, I used different edge wear and dirts to add that raggedy look to the textures. I like to turn the mask color to something very bright and notable, like red, adjust the dirt/dust/whatever until I like it and then turn the color to a real one.
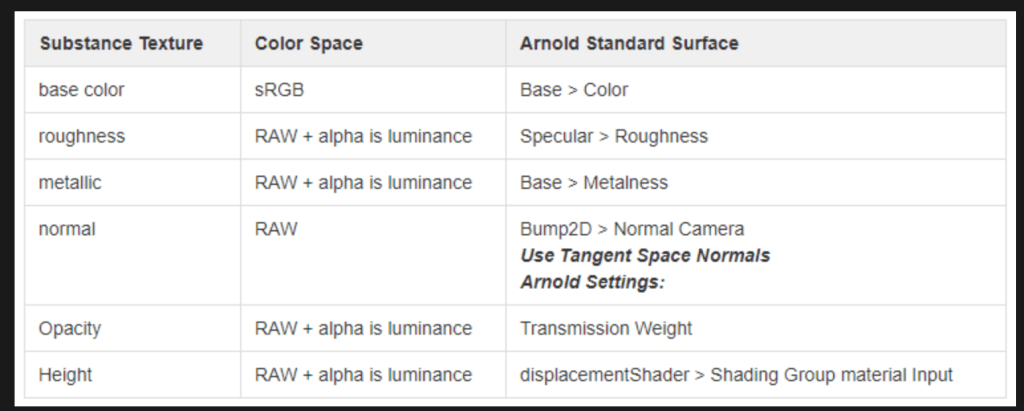
I then exported the textures and added the files to the assets in Maya using Adobe’s Substance to Maya workflow article as a helper.
I later realised that I had UV mapped the microphone badly and the texture does not look right but while I fixed the UV Map, I had no time to redo the texture, unfortunately.
